Gorilla Photography Tours: The Complete Guide for Wildlife Photographers
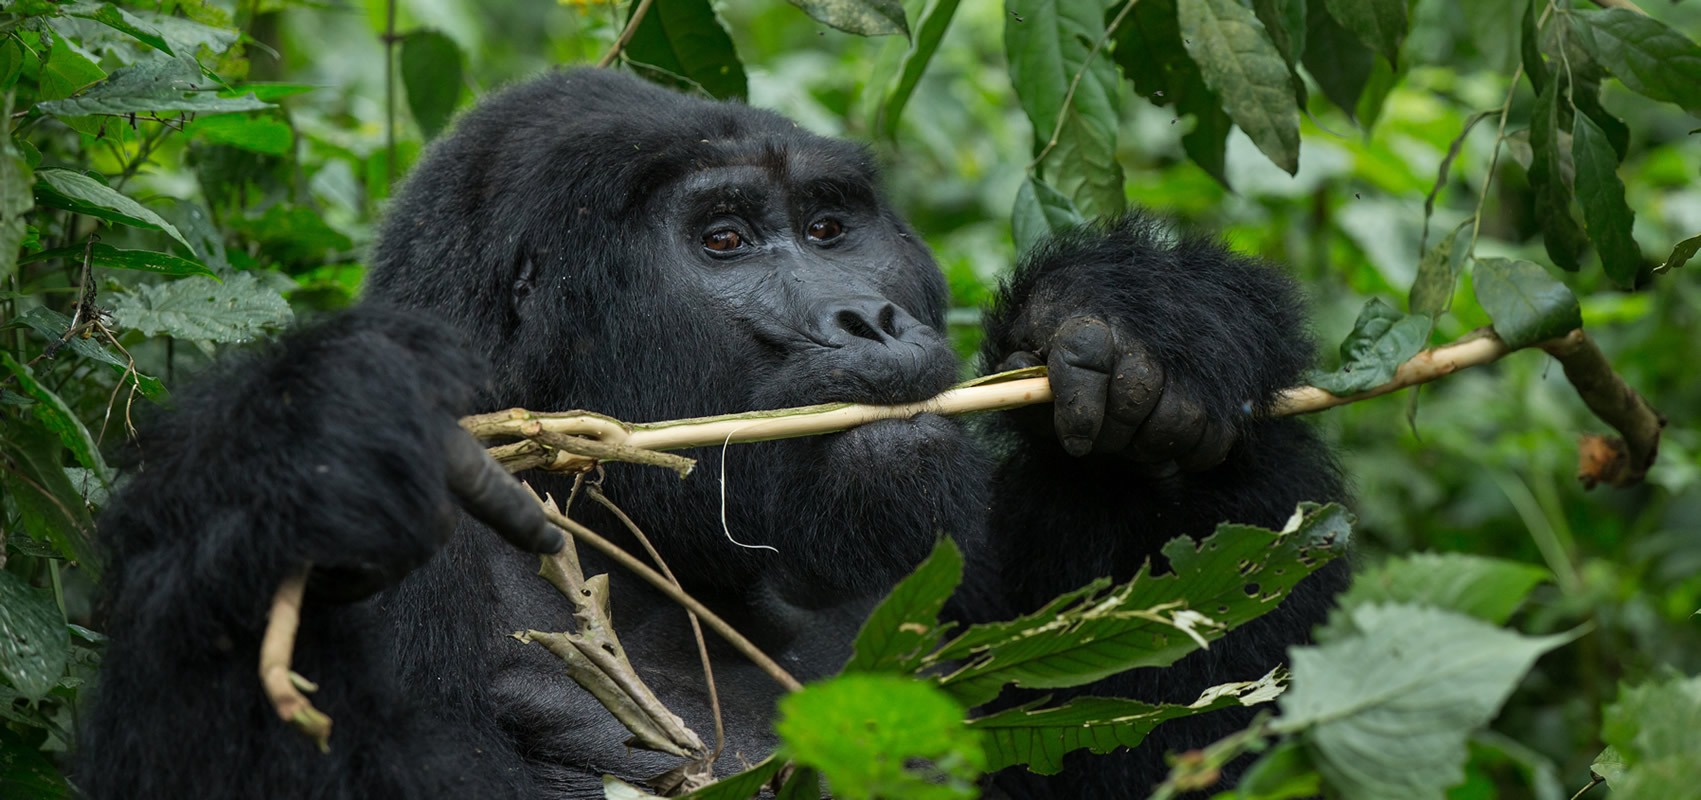
If you are planning Gorilla Photography Tours in Rwanda or Uganda, you will appreciate our tips. You will find out what equipment to bring and how to get the most out of your jungle photography. Gorilla tours are from five to ten days long; there is a magic moment for photographers when they see a silverback look up and meet their eyes for a second before continuing to chew some leaves. A moment that is captured forever in a photograph! Gorilla photography tours in Rwanda and Uganda are unique compared to other safari tours in Africa. The lighting is challenging; you are close to the gorillas, and you only have an hour to enjoy them. This article will provide advice on equipment, photography permits, and more to help you prepare for your visit.
Why Gorilla Photography Is
Unlike most photographic safaris, where you are in a vehicle and far away from the wilderness most of the time and you wait for the perfect lighting to take photos, when you are on a tour to see the gorillas, you are walking for some time before you see them. It can take one to six hours of trekking through a thick jungle before you finally come across the primate family. You are eye level with them and sometimes within two or three meters of a huge silverback. The thick canopy does not allow much light in, so you are always taking photographs in the shade or at times when the light is bursting through gaps in the leaves. You only have an hour to spend with them before the rangers ask you to leave, so you cannot take more pictures. If you want to take more photographs, you will have to pay for another permit the following day if they allow you.
This is why you need our advice on equipment and methods for photographing gorillas. The equipment and techniques mentioned below are used specifically for this purpose. Gorilla Photography Tours Rwanda Uganda are unique, so you should prepare yourself for this type of adventure. You need to understand what to expect on a gorilla photography tour and how to make the most out of your experience. Gorilla photography is a unique genre that requires specific equipment and methods.
Gear Suggestions for – Gorilla Photography Tours
Camera body. Compared to most other forms of nature photography, I think this one is most exigent. The full-frame mirrorless bodies with good low-light autofocus, typically used for indoor sports/action photography, usually have an advantage over their crop-sensor counterparts in terms of performance in the dark woods. You might want to consider a body that has good autofocus performance at the ISO 3200- 6400 range (not that you would be able to use it at lower ISOs) and/or has animal eye detection autofocus, which is now available in several mirrorless systems, and which may give you an advantage when the animal’s face is occluded by plants.
Lenses.
Here you have to make a concession – this job is not for the shooters who would normally go for the 300-400mm f/2.8. Because the gorillas often move within a few meters from you, 800mm is already too long, and you can get nothing but the back of a silverback’s head with such a lens. Rather, you want something like a 24-70mm f/2.8 or even a 70-200mm f/2.8 – the latter is almost ideal for photographing gorillas, if a bit long for the whole family picture. A faster 16-35mm may come in handy if you need to jump to a more wide-angle shot for the rare opportunities to see a gorilla within a couple of meters. If you are to choose just two lenses – go with the two ‘24-70 and 70-200′ f/2.8.
I usually shoot either in aperture or manual priority. Shooting in aperture priority mode (or even in fully automatic) is actually more convenient for me, given the fickleness of the light in the forest – when the gorilla is in a clearing, it is hard to make a fast enough shutter speed without overexposing the image, and when it moves under the foliage, the shutter speed drops dramatically. So I prefer to set the ISO range and aperture manually and let the camera do the rest.
Tripods are a luxury, if not a danger, in most cases – both due to the slippery conditions and because the guide will be unhappy about you having to stop while the rest of the group moves on. Monopods may be used occasionally but are far from being obligatory – most people I know photograph gorillas handheld. That is fine as long as you have good image stabilization and/or fast enough shutter speed (neither of which is available in abundance in the forest).
Memory cards and batteries.
You definitely want to have more than you think – the hour-long hike with the gorillas is long enough for both taking a lot of shots (you will miss plenty of shots of the silverbacks ‘acting’ that you will regret later) and for the cold and damp weather (which will kill your camera’s battery life faster than you might expect). Same goes for the memory cards, especially if you plan on taking a lot of pictures.
Rain. Both Bwindi and Volcanoes National Parks, the two main destinations for gorilla photography tours, are rainforests, meaning that rain there is not uncommon. Not because it rains much, but because the rain usually comes in sudden bursts, so it is best to have a rain sleeve/spray for your camera, plus a waterproof bag for your spares.
Clothing.
If you want to photograph gorillas, wear muted colors. Yes, it is partly a reason to avoid being distracted by bright things (but I find it much more of a factor for the animals themselves), but you would want to blend in with the forest rather than stand out. That means khakis, greens, browns – not red, blue, yellow, or any other neon or bright colour. Another piece of clothing advice I can give is to bring some gardening gloves – they are useful for almost everyone who photographs gorillas because of the need to grip the branches while hiking up and down on the slopes.
Best Positions and Field Technique
Get low. Shooting from a crouched or kneeling position, roughly at the gorilla’s eye level, produces dramatically more intimate and powerful images than shooting downward from standing height. Eye-level shots create a sense of connection and dignity in the image that top-down shots simply don’t.
Watch the silverback, but photograph the group. The silverback is the obvious subject, but some of the most compelling images come from juveniles play-fighting, mothers grooming infants, or the quieter interactions at the edges of the group. Guides will often position the group so you have sight lines to several individuals at once — it’s worth briefly scanning the whole scene rather than fixating on the dominant male the entire hour.
Anticipate, don’t chase. Trackers and guides can often tell when a gorilla is about to move, stand, or interact with another member of the group, and experienced photographers learn to watch the guide’s cues as much as the gorilla itself. Chasing movement with the camera usually produces soft, poorly composed frames; anticipating it and pre-focusing produces the shot.
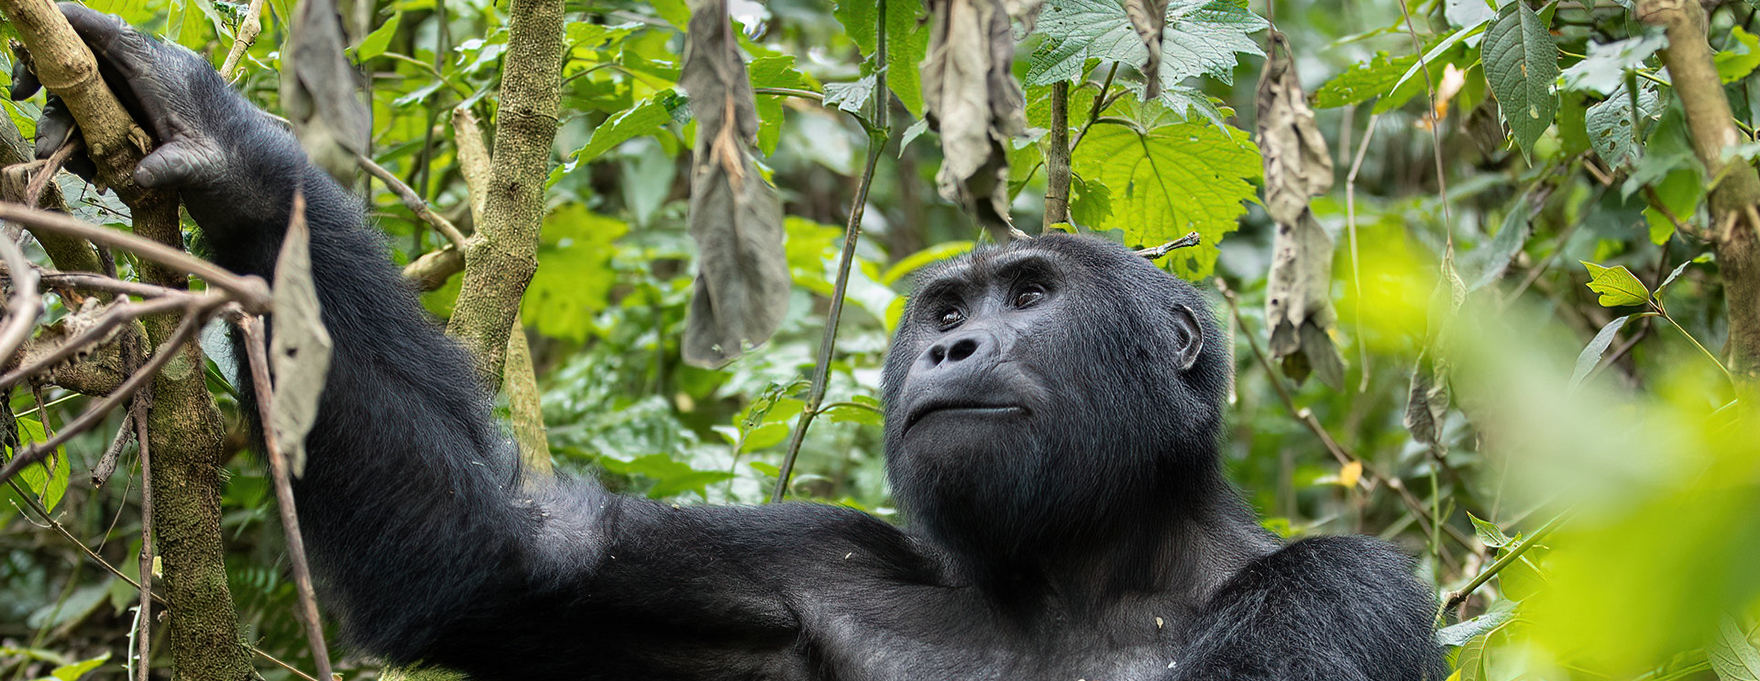
Use natural frames. The forest itself — leaves, vines, tree trunks — can be used deliberately to frame a gorilla rather than treated as an obstacle to shoot around. Some of the most published gorilla images use foreground foliage, slightly out of focus, to add depth and a sense of place.
Respect the distance rules, but understand they flex. Official guidelines typically require visitors to stay around seven meters from the gorillas, but gorillas themselves are not briefed on this rule, and it’s common for a curious juvenile or even a silverback to close that distance on their own. When this happens, guides will direct visitors on how to respond (usually to stay calm, avoid direct prolonged eye contact with a silverback, and let the animal pass). Keep your camera ready during these moments — they often produce the most striking images of the entire trek.
Expose for the face, not the fur. Gorilla fur is often dark and can trick a camera’s metering into overexposing the face and eyes. Spot metering on the face, or reviewing histograms after the first few frames and adjusting exposure compensation accordingly, prevents the common mistake of blown-out or muddy portraits.
Enhanced Photography-Focused Itineraries
5-Day Rwanda Gorilla Photography Intensive. Built around two separate gorilla trekking permits in Volcanoes National Park rather than one, this itinerary gives photographers a second attempt at better light, a different gorilla family, or simply a better set of shots after learning the terrain and light conditions on day one. Days are structured with an early trek, midday rest and gear review, and an afternoon or golden-hour session photographing golden monkeys, whose more open bamboo-forest habitat offers better light than the gorilla forest itself — a useful complementary shoot for the same trip.
7-Day Uganda Dual-Park Photography Safari. Combining Bwindi Impenetrable Forest with Kibale Forest National Park, this itinerary pairs gorilla trekking with chimpanzee tracking, giving photographers two very different primate subjects and forest environments in one trip. Bwindi’s terrain is steeper and denser, rewarding wider apertures and higher ISO; Kibale’s forest canopy is comparatively more open in places, allowing slightly faster shutter speeds. A rest day between the two treks is built in specifically for reviewing and backing up images, an easy thing to neglect when moving quickly between parks.
10-Day Cross-Border Rwanda–Uganda Photography Expedition. For photographers who want maximum variety, this itinerary crosses between Volcanoes National Park in Rwanda and Bwindi in Uganda, using the Cyanika or Katuna border points for a scenic road transfer through the Virunga foothills — itself a strong landscape photography opportunity, with terraced hillsides and volcano views along the route. This itinerary typically includes two gorilla permits (one in each country), a chimpanzee trek, and dedicated time in Queen Elizabeth National Park for open-savanna wildlife photography, giving a full contrast between rainforest primate work and classic East African plains photography within a single trip.
Add-on: private trekking days. For serious photographers, some operators offer the option of paying for a second permit for the same gorilla family on a subsequent day, effectively giving a private-feeling second session with animals the photographer has already observed and understood the personalities and habits of — often producing noticeably stronger images than the first, unfamiliar encounter.
Practical Notes for Gorilla Photography Tours
Permits should be booked well in advance, particularly during the June-to-September and December-to-February dry seasons when trekking conditions are best and demand is highest. Photographers should also budget physical stamina into their planning: treks can involve steep, muddy, high-altitude terrain, and arriving with tired legs and shaking hands is its own threat to image quality, arguably as significant as any piece of gear on the list.
Ultimately, gorilla photography rewards preparation over equipment. A photographer with a single fast zoom lens, a calm approach, and a good understanding of gorilla behavior will consistently come away with better images than one carrying a bag full of unfamiliar gear and no plan for the low light and short window they’ll actually be working with.
Gorilla Photography Tours Packing List – Adventure Gorilla Tours
Clothing & Footwear
- 2–3 quick-dry trousers (nylon/poly blend, earth tones, no denim) for nettle/thorn protection
- 3 t-shirts + 1 pair of shorts for lodge/warmer days
- 1–2 long-sleeved shirts for the trek itself (arm protection, less repellent needed)
- 1 fleece/sweater — mornings at altitude can approach 10°C
- Waterproof rain jacket with hood, sealed seams, packable
- Sturdy waterproof hiking boots (Gore-Tex, deep lugs, broken in) — trail runners are inadequate
- 3–4 pairs wool/merino socks (tall, moisture-wicking)
- Sandals or camp shoes for evenings/game drives
- Wide-brimmed hat (high UV at altitude)
- Gardening gloves — often overlooked- protect hands from nettles/thorns
Health & Safety
- DEET-based repellent (30–50%), spray + lotion
- SPF 50+ sunscreen
- Personal first aid kit (plasters, antiseptic, blister care, antihistamines, meds); discuss anti-malarials with a GP beforehand
Photography & Electronics
- Camera with versatile zoom lens (24–105mm or 70–200mm); waterproof cover
- 2+ spare batteries, extra memory cards (charging not always reliable)
- Head torch/flashlight for pre-dawn starts and power outages
- Binoculars for wildlife/birds and game drives
- UV sunglasses (polarised, good for water activities)
Best Gorilla Safari Packages
Mountain gorillas exist in only two isolated populations, found nowhere else on the planet. Here are the best Gorilla trekking safari packages to Volcanoes National Park in Rwanda, Bwindi and Mgahinga National Parks in Uganda.
- 1 Day Rwanda Gorilla trekking
- 1 Day Bwindi Gorilla safari
- 2 Days Volcanoes Gorilla Tour
- 3 Days Rwanda Gorilla Adventure
- 4 Days Double Gorilla Trekking
- 5 Days Safari to Bwindi NP
- 7 Days Rwanda & Uganda
- 8 Days best of Rwanda Safari

Combined Safari Packages
These gorilla trekking safari packages take travellers to Volcanoes National Park in Rwanda, as well as Bwindi Impenetrable and Mgahinga Gorilla National Parks in Uganda. Each itinerary can be paired with wildlife viewing and chimpanzee tracking experiences for a more comprehensive safari.
- 1 Day Rwanda Gorilla trekking
- 1 Day Bwindi Gorilla Safari
- 2 Days Volcanoes Gorilla Tour
- 3-Day Rwanda Gorilla Adventure
- 4 Days Double Gorilla Trekking
- 5-Day Safari to Bwindi NP
- 7 Days Rwanda & Uganda
- 8 Days Best of Rwanda Safari
Gorilla permits (in Uganda, Rwanda, or the DRC) are fixed-cost, government-set fees that everyone pays regardless of budget. Since that cost is constant, the accommodation category chosen becomes the main lever that pushes a package from “budget” to “midrange” to “luxury.” We offer apealing quotes because we havs special deals on accommodations leaving your package under your budget.
- Budget/community lodges — simple rooms, shared facilities, basic meals
- Midrange lodges — en-suite rooms, decent service, set menus
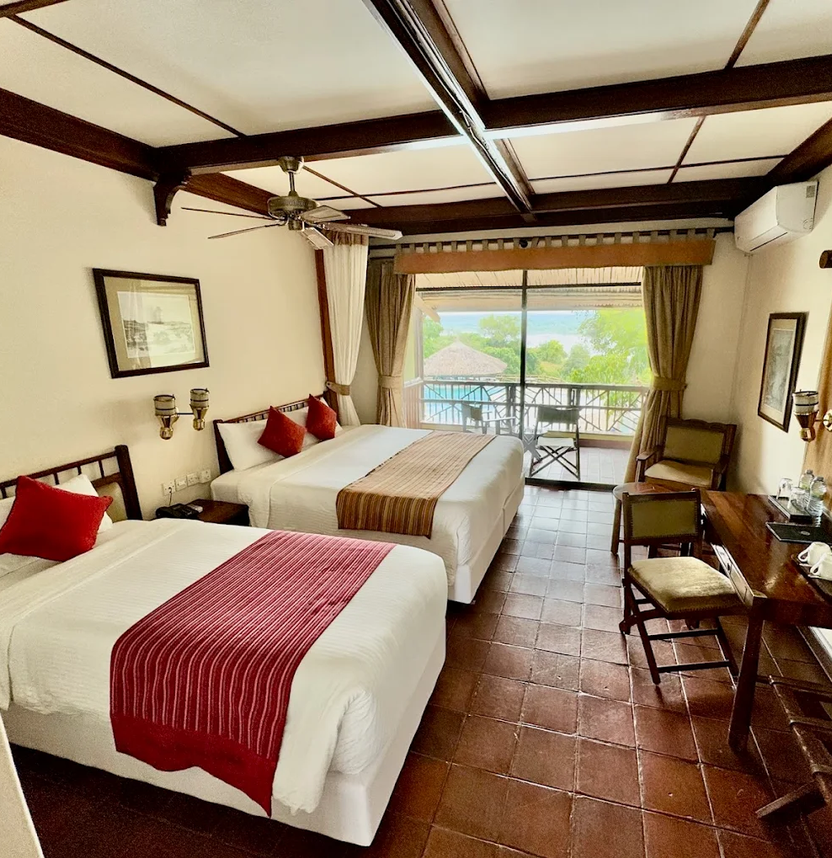
- Luxury lodges/camps — private cottages, personalized service, premium dining, sometimes even private guides or viewing decks
Adventure Gorilla Tours
From exclusive one-day gorilla trekking excursions in Rwanda and Uganda to comprehensive safari experiences across East Africa’s premier wildlife destinations, we specialize in crafting unforgettable African journeys tailored to your needs.
Every itinerary we design reflects careful attention to our clients’ unique preferences and travel goals. Reach out to our team today, and let us create a bespoke travel experience designed exclusively around what matters most to you.
Featured safari destinations
22 Days best of Uganda Safari
This gives you a full highlight of Uganda widlife Safari vacation.